A Simple Method for Creating Composite Photos

Composite photos are made up of two or more different images. There are several different types or styles of composites, but I'll be focusing on just one in this tutorial.
The type of composite we'll look at is made up of multiple images with exactly the same framing, exposure, and lighting. Using this method, you can add or subtract objects from a scene. Obviously, this isn't something you want to do in photojournalism, but it does have applications in other sectors of photography.
Here are seven basic steps for creating simple composite photos.
1. CAMERA SETUP
First off, you need to use a tripod so each frame doesn't move. To make your post-processing easier, you'll want to shoot in manual mode if you can. This will give you the ability to produce multiple images with the same exposure (assuming your lighting situation is constant).
2. CAPTURE MULTIPLE EXPOSURES

Once you have the camera ready to go, take as many images as you think you'll need. Then take a bunch more. You can always throw out the extras, but you can't go back and get one or two more after you've taken the camera off the tripod. I shot 29 different poses for my example composite.
3. OPEN IMAGES

If you shoot raw format, just be sure to process the images with the same settings. After raw processing, open them all in Photoshop, The Gimp, or any other software that allows you to use layers and layer masks.
4. CREATE LAYERS

Choose one photo to be the base image for the composite. Place all other images in layers above that base image. We'll be grabbing bits and pieces from these layers to create the composite.
5. MASK LAYERS

On each layer above the base image, add a layer mask and hide all or fill with black. The black layer mask will block out the pixels from that layer, so you should only see the base image at this point.
6. PAINT THE COMPOSITE


Now you can go back to each layer mask and paint white over the areas that you want to show. This could be the addition of objects present in that layer, or the subtraction of objects present in the base layer. If you need to see what's in your working layer, press “shift” and click on the layer mask. This will temporarily disable the mask and show just the image. Press “shift” and click the layer mask again to enable it again.
7. FINISH POST PROCESSING

After you get the composite image looking good, you can either save it out as a new image or continue working with it in Photoshop. Any adjustment layers that are applied above the composite layers will act on the composite as a whole.
And here's the finished product.
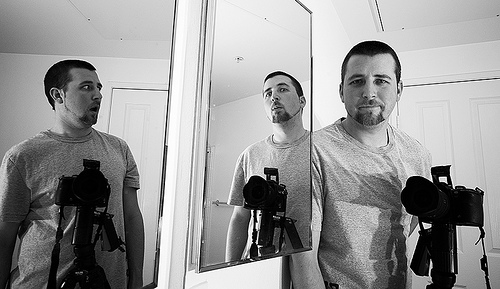
That's about it… there's not a whole lot to it. If you get the initial shots identical in composition, exposure, and lighting, the rest is pretty easy. Here are some other examples of composite photos.
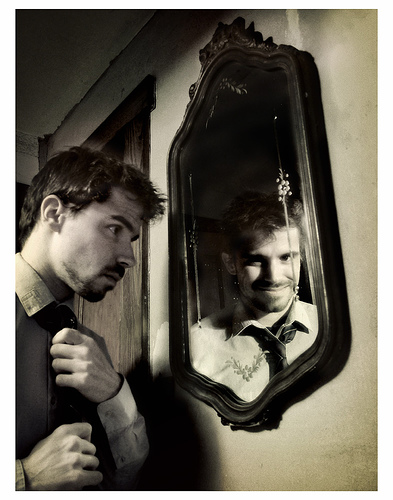
photo credit: eqqman
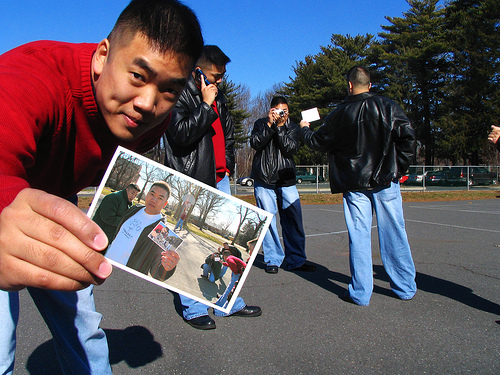
photo credit: pochacco20

photo credit: j-william
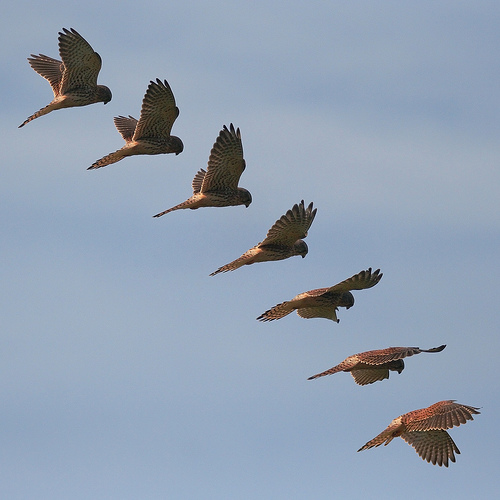
photo credit: markkilner
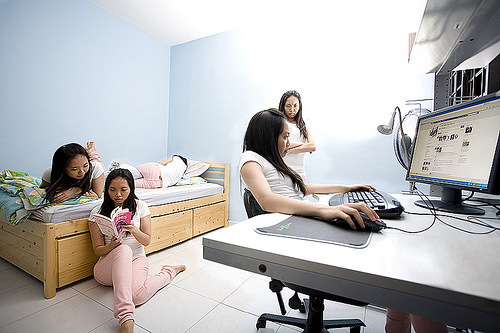
photo credit: eleven days into april.
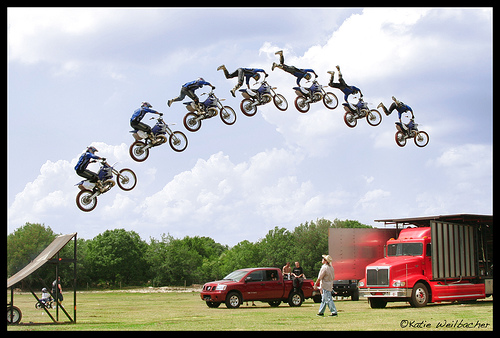
photo credit: katiew
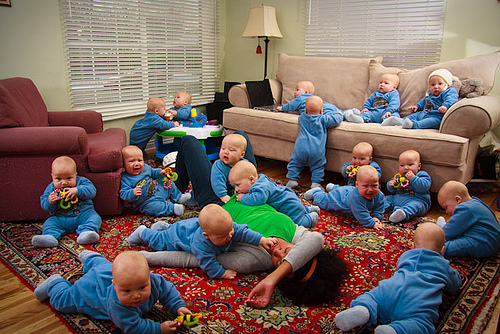
photo credit: PhotoBlackburn
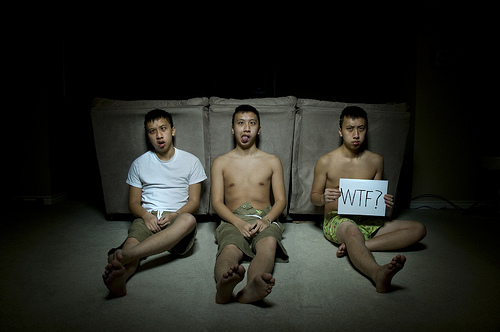
photo credit: Ben Chau
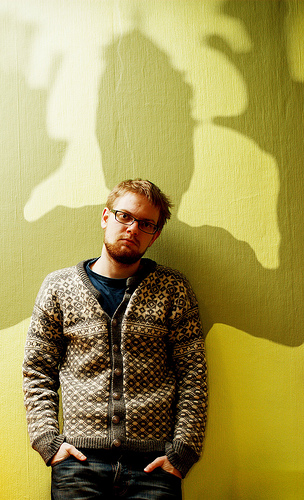
photo credit: Pragmagraphr