Destined For Retirement

[Buy Prints] [Buy Rights] [See it at Flickr]
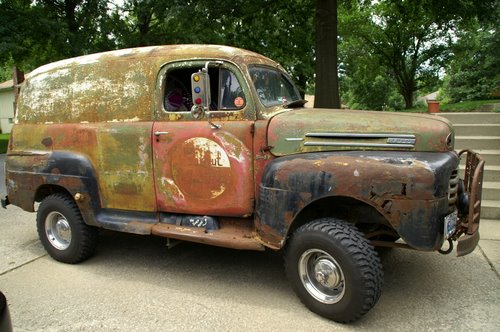
This photo was taken at my Grandfather‘s house in Missouri while my wife and I were on our move from New Jersey to California. His brother stopped by to visit, and he happened to be driving this big ugly rusted-out beast of a truck. He's kind of a character, so something like this wasn't totally unexpected. He's actually very good at restorations and building custom vehicles — he just happened to be on a “rust rod” streak at the time (I think that's what he termed it anyways). Here are some photos of the entire thing — no joke, this is what he used as his daily-driver… though I'm not sure if he's still using it or if he's moved on to another project.
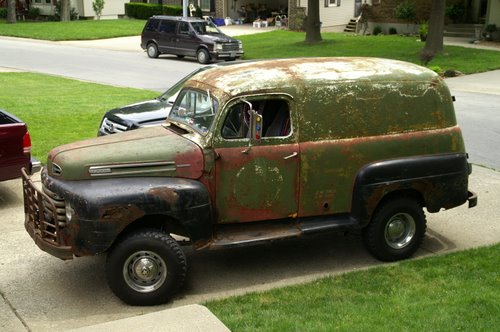
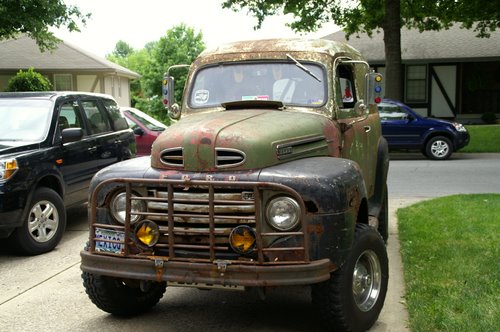

The photo I shot for artistic purposes was the front driver's side corner of the vehicle. I got in there real close with my 10mm lens and got some of that neat rust and paint texture. I processed the photo to focus on some of the colors and tones while making those textures and contrasty areas stick out. All in all I'm pretty happy with this one.
![]()
I actually took most of the processing steps from Jake Garn's Tutorial Video: Everything Old is New Again — and I tweaked it a bit for this image.
- In-Camera JPEG
Not really much to say about this one, but it wasn't much to look at either. - Processed RAW
I actually processed the contrast down a bit because I knew I'd be using the technique in the next step as soon as I got in Photoshop. - Hard Mix Layer Blend
I duplicated the base image and set the blending mode to “Hard Mix” at 43% opacity and 29% fill. This boosted up my contrast and saturation while giving it a little bit of a hard look. - Black and White Adjustment
I used the Black and White adjustment layer with a green filter in Photoshop CS3. I then set the blend mode to Overlay and dropped the opacity to 65% to de-emphasize the effect. - Saturation Adjustment
To wash it out a bit more, I used a Hue/Saturation adjustment layer and set the saturation to -36. - Warming Filter
I added a Photo Filter adjustment layer set with a Warming Filter (LBA) at 40% to give it the final tint. - Sharpening
I sharpened with the Unsharp Mask at 86%, 2.0 pixels, and a threshold of 0 to help make the textures more pronounced.
Enjoy!
Mark Groves
December 24, 2007Hi Brian, I used your process on my own similar photograph, I hope you like:
https://markgroves.us/2007/12/24/retired/