Photoshop Tip: Non-Destructive Burning and Dodging
Burning and dodging are post-processing methods of darkening and lightening parts of a photo for added contrast and tone control. Photo editing software (such as Photoshop) has tools for burning and dodging, but unfortunately they're destructive modifiers. They're destructive because they make changes to the actual pixels of the image. Non-destructive techniques are preferred because they give you the ability to “undo” or “refine” them at any point without further alteration of the original pixels.
Burning and/or dodging is something I apply to almost every photo during post-processing, because it allows me to target certain areas of the photo and add that extra “artistic touch”. In this tutorial, I'll show you how I burn and dodge my photos using a combination of curves adjustment layers and layer masks. The advantage to this method (aside from being non-destructive) is that you have two levels of control with the curves adjustment and layer mask — both of which can be altered at any time during post processing. Let's get started then (that's your cue to open Photoshop)…
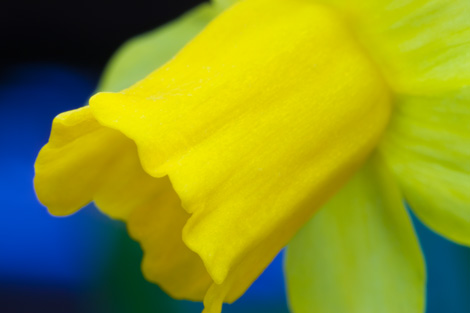
The Original Photo
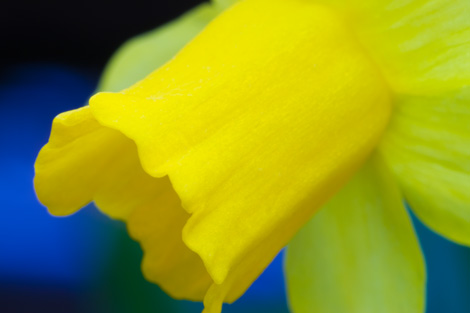
I chose this photo because I did a considerable amount of burning — not really any dodging, but the process is the same. Burning darkens, while dodging brightens. I wanted to bring out more contrast in the trumpet and the petals of the flowers by darkening specific sections. As it is now, it's not bad, but it could be much better. There are hints of contrast in the yellow flower that are begging to come out and play.
Applying The Adjustment Layer
To start, I added a curves adjustment layer to the entire image — not just a curves adjustment, but an adjustment LAYER. We're going for non-destructive editing here. As the dialog box shows, I pulled the RGB curve down and to the right. This darkens everything a bit, with more emphasis on the midtones. I usually try to over-darken the image with the curves adjustment so I have more room to play with the mask. The image is going to look a bit funny, but we'll fix that in the next step. So here's what we have at this point. Even this adjustment is subtle (and a little difficult to see on a low-res image), but the entire image has been darkened slightly.
Now For The Mask
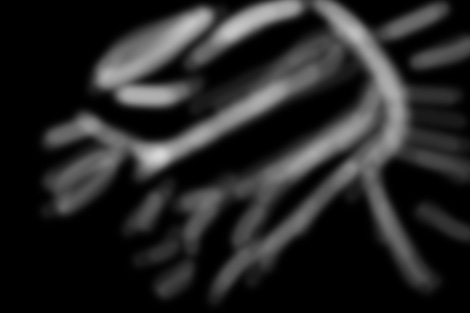
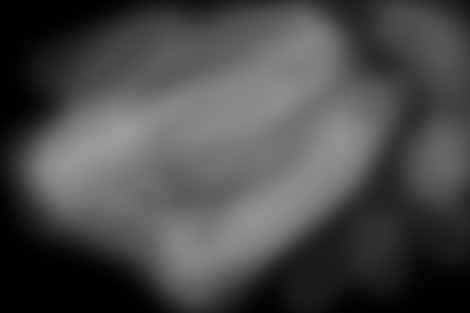
Your adjustment layer will automatically have a mask — but it's empty, so it doesn't do anything. The mask will be the little white rectangle to the right of the adjustment layer icon. Masks are just grayscale images; white lets stuff through, black blocks it out. So you'll want to fill the mask with pure black (make sure you select it first) in order to block out the adjustment layer (Edit >> Fill… >> [Choose Black in the dropdown]). There now, back to normal.
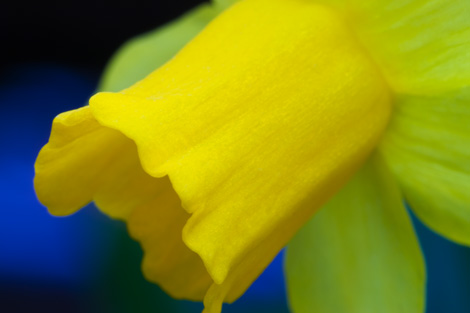
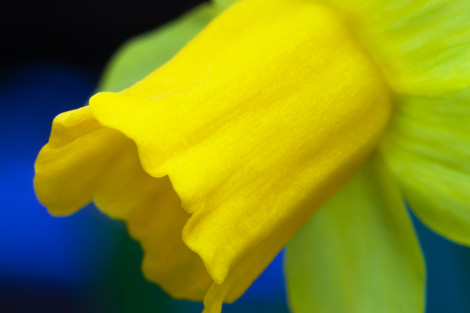
Now grab your paint brush, set the foreground color to white, background color to black, hardness to zero (or whatever value suits you), mode to normal, opacity to 5% or 10%, fill to 100%, and brush size to suit the photo (I typically work between 20 and 200 pixels depending on what I'm painting). With the mask still selected, start painting over the areas you want to darken or burn. With the opacity as low as it is, you'll have to go over some spots many times before you get the effect you desire. Keep going until you get the contrast looking good. You can also switch the adjustment layer off and on to see a quick before and after. Here is the resulting image after applying the burn — note that the highlights have been maintained from the original, but the shadows are a bit darker in certain areas.
Now For Round Two
That was a good starting point, but I wanted something a little more out of this photo. So using the image above as my starting point, I applied another curves adjustment layer and mask to bring out additional contrast. The images below represent the same process as above, showing the adjustment curve, the unmasked resulting image, the image mask, and the final output image.

Small Steps, Big Changes
Each step in the process relies on making small changes to give a desired result — using multiple curves adjustments, painting at 5% opacity, and using a mask to target specific areas. This technique gives you targeted tonal control over your image, in addition to the fact that you have two levels of adjustability while preserving the original pixels of the photo. The biggest advantage of this method, though, is that it gives you full artistic control over your photograph — global adjustments work fine in some cases, but targeted adjustment can really make your work stand out.
The method I've outlined here isn't the only way of producing non-destructive dodging or burning, but it's the method that I've grown comfortable with. Try it out on some of your photos and experiment with different curve adjustments, masks, brushes, etc. You may be surprised at the outcome.
Andrew Ferguson
July 3, 2007Wow! This is going to be time consuming, but I can already think of a number of ways this can benefit my photography.
Kickass post, Brian 🙂
Brian Auer
July 3, 2007Thanks Andrew — I’d love to see an article from you on some mashups of this type of post-processing technique. As far as time consumption… it does take a little extra time, but it’s not outrageous once you get your groove on.
Susheel
July 4, 2007Brian,
Nice post. I’m not trying to bash your style here, but I’d have liked a before after /side by side comparison so that I can really see what the final differences are…
Cheers!
Susheel
Brian Auer
July 4, 2007I thought about doing the side-by-side thing, but I’m pretty limited on article width and I wanted to show the photo as large as possible. I suppose that a small picture with a link to a bigger picture would also have worked.
Alan Cook
January 27, 2008This photography tutorial is great! Thanks.
Jing
June 1, 2008This is a very good tutorial for photography. Thanks for sharing such professional lessons.