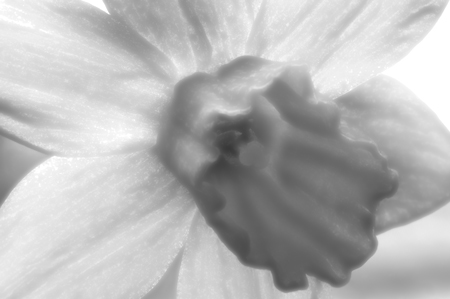
Glowing Daffodil
This was another photo taken using the method I talked about in my post Indoor Macro Photography Project for Rainy Days. It's the same miniature daffodil as some of my other photos, but I decided to go black and white with this one. I also decided prior to editing that I wanted the photo to be a bit high-key and soft. The image below shows each step in the editing process — click for a larger view.
I started this one off by converting to black and white using the Photoshop CS3 Black & White adjustment layer. I applied 220% red, 100% yellow, 85% green, 175% cyan, 50% blue, and 0% magenta. This brightened up the petals quite a bit while brightening the trumpet even more. Then I adjusted the levels by bringing the graypoint to 1.14, which lessened the contrast a bit. After this, I applied four curves adjustments for both brightening and darkening, and I used masks to target certain areas and give the trumpet more contrasting tones to help create depth. Then I merged a copy into two new layers and applied a Gaussian blur of 16 pixels to soften the first layer. The second layer (on the very top) was blended into the blurred layer using a “Lighten” blend at 100% opacity and 100% fill. This step brought back some of the sharpness while brightening the highlights to create that sparkly look — it has more of an impact on the full size image.
Photo by Brian Auer
04/01/07 Flemington, NJ
Glowing Daffodil
Konica Minolta Maxxum 7D
Sigma MACRO 105mm f/2.8 EX DG
158mm equiv * f/32 * 15s * ISO100

