Digital Photo Editing With Layer Masks in Photoshop
Layers are probably the most important feature in a piece of digital photo editing software like Adobe Photoshop. Layer masks are the second most important feature. A layer mask is a grayscale image that attaches itself to a layer. The mask allows you to either block or show parts of that layer based on the tone of the mask. A white mask does nothing — it allows the layer to show through. A black mask shows nothing — it blocks the entire layer. If you haven't worked with masks yet, this may sound a little strange. Here are a few resources to help get you on the path to better editing.
Layer Mask Primer
Lunacore has a 3 page article on Layer Masks with lots of visual examples. It covers how layer masks work, how to create them, how to edit them, working with shades of gray, and combining them with things like vector masks and filters. The key thing you should take away from this article is that the mask is just a black & white (grayscale) digital image that you can work with just as any other image.
Exposure Blending with Layer Masks
Photodoto has a tutorial on High Dynamic Range (HDR) imaging using layer masks. HDR is a form of editing that combines two or more photos of the same scene but with different exposures. Cameras have a limited dynamic range (especially digital cameras) that can be captured in any single photo, so you end up clipping your histogram at the highlights or shadows and losing information. The technique presented in the tutorial shows how to layer four different exposures of the same image and use layer masks to combine them into a single output. They don't use any advanced masking techniques, so it's pretty easy to follow along.
Creating Masks Using Channels
There's a video tutorial on YouTube that shows how to Create a Selection Using Channels. This type of thing is where you really start utilizing the power of layer masks — by creating new channels derived from existing channels. I'm a little disappointed with the tutorial because they don't actually use a layer mask, but they certainly could have (or should have). If you follow the tutorial, they've basically created a mask using the blue channel information right out of the digital photo. What I would have done at this point is load the channel as a selection, then create a layer mask on the original layer rather than duplicating it. When you have a selection loaded, the mask automatically fills itself in based on that selection. After the sky was masked out on the main layer, I would have dragged the cloudy sky background into the new image and moved it below the tree layer. The advantage to doing this is that 1) you only have two layers instead of three, thus making a smaller file, 2) you haven't added or removed any information from either of the original images, so it's completely non-destructive, and 3) the layer mask is completely editable and replaceable, in case you need to do touch-ups.
Last Thoughts on Layer Masks
These three resources are only the tip of the iceberg when it comes to layer masking in digital photo editing software such as Photoshop. There are so many things that can be done non-destructively using masks: cloning touch-ups, erasing, dodging, burning, texturing, grain simulation, selective sharpening, selective levels and curves editing, selective coloring, HDR, combining images, and many more. The important thing is to start using masks non-destructively to replace destructive photo editing techniques. Get comfortable with how a layer mask works, and start experimenting more.
Photo of the Day…
Photo by Brian Auer
03/31/07Â Flemington, NJ
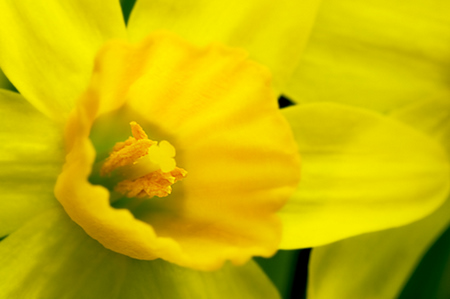
Miniature Daffodil
Konica Minolta Maxxum 7D
Sigma MACRO 105mm f/2.8 EX DG
158mm equiv * f/16 * 1/3s * ISO100
