How To Fix Photo White Balance Using Photoshop
After having a small conversation with the author of Inspiration Bit in the comments of my last post, I thought I would do a little tutorial on fixing white balance in a photograph using Photoshop. White balance is that thing that either makes your photo look too warm, too cool, or just the right color temperature. Digital cameras have the ability to compensate for white balance, but sometimes they're off a little. If you shoot in RAW, it's a quick fix with Adobe Camera RAW during the processing of the file. If you don't shoot in RAW and your photo turns out a bit off, you'll have to do some additional editing to fix the problem.
In the example photos below, I created a warm photo by mis-processing with Adobe Camera RAW. Each of the examples below the first image were “fixed” using a different Photoshop technique. Before I begin, I have to say that white balance editing is not an exact science. It's very subjective and depends a lot on your monitor settings too. You'll notice that each of my example techniques are a bit different from each other. So let's begin.
Here's the image with the white balance set too warm. Notice that the trees have a yellow-green tint to them. So we'll want to adjust the image to make it a bit cooler — I know, I know, it's pretty “cool” to begin with, but I mean a cooler white balance.
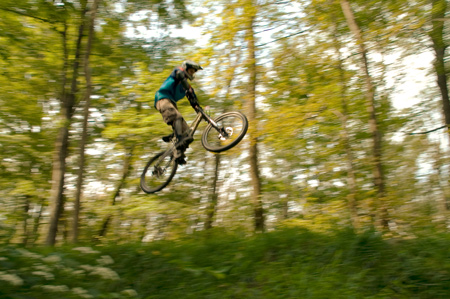
One quick and easy way to change your white balance is with a Photo Filter Adjustment Layer. I've applied a cooling filter (blue in color) to the image in order to offset the over-warmth. With this filter, you can change the color of the filter and the strength of the filter. You can see that the foliage is now greener and the sky even has a little blue tint to it.
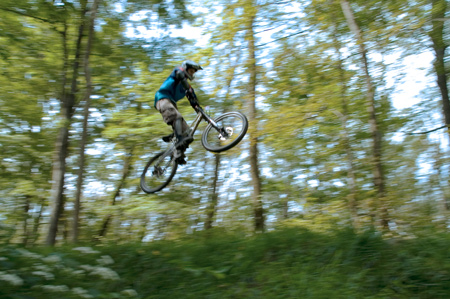
Another quick edit is to use a Levels Adjustment Layer. In the levels dialog box you'll see three little dropper buttons — one for black, one for gray, and one for white. Pick the middle button (gray) and start clicking around on the photo. You'll notice that the color cast changes as you click on different colors. You want to try picking a flat gray somewhere in the photo (if there is one) and it should get you pretty close on white balance. Like I said, this one is quick, but it's kind of limited to photos that contain that gray point. Plus it's kind of a gamble.
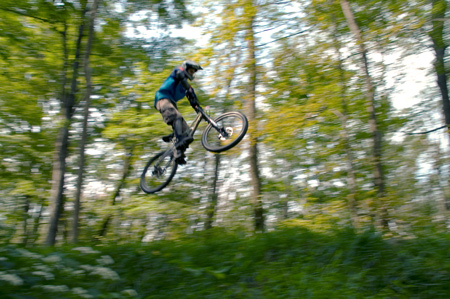
Using a Curves Adjustment Layer gives you more control over the luminosity in your photo, but it also gives you more control over your color channels. There's a drop down box at the top of the dialog that allows you to edit the RGB (luminosity) channel, the red channel, the green channel, and the blue channel. In the case of a warm photo, you'll want to pull the red curve down and to the right to tone down the red colors. You'll also want to pull the blue channel up and to the left in order to tone up the blue colors. Just do the opposite for a cool photo. The green is usually okay where it's at, but you can play with that one too. To make your life easier, do the white balance adjustments in a separate curves adjustment layer than your luminosity — there's no limit to how many you can have stacked on top of each other.
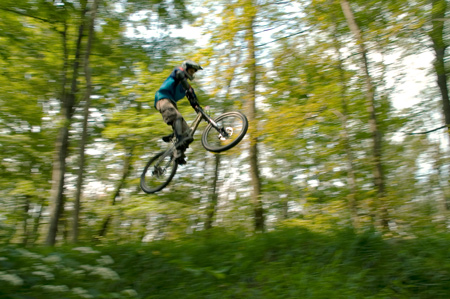
As I mentioned before, you can change the white balance of your RAW photos using Adobe Camera RAW (actually you have to because RAW files don't have white balance applied to them). Before Photoshop CS3 (still in beta), you could only open RAW files with Adobe Camera RAW. But CS3 is great, and you can open JPEGs using the ACR interface. The interface just has a little slider bar for white balance and you slide it back and forth to make your image warmer or cooler. Handy!!!
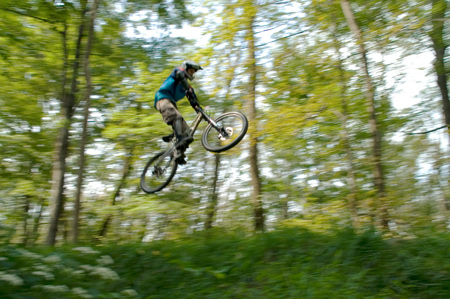
There are a couple of other ways to adjust white balance (like a color balance adjustment), but these four are probably the most straight forward. I'll typically use the curves adjustment when I'm working with JPEGs, and I'll use ACR when I'm working with RAW files. So next time you forget to change your white balance settings on your camera and end up with a bunch of colorful photos, you'll at least be able to salvage them — with a little work.
Photo by Brian Auer
09/17/06 Vernon, NJ
The Flying Mountain Biker
Konica Minolta Maxxum 7D
Konica Minolta AF DT 18-200
39mm equiv * f/8 * 1/60s * ISO100
inspirationbit
March 12, 2007Thank you so much for this tutorial. It’s very helpful to see the results after each step. I’ll let you know if I have any questions, once I apply your techniques to my photos.
btw, that’s a pretty cool shot – your Flying Mountain Biker. 🙂